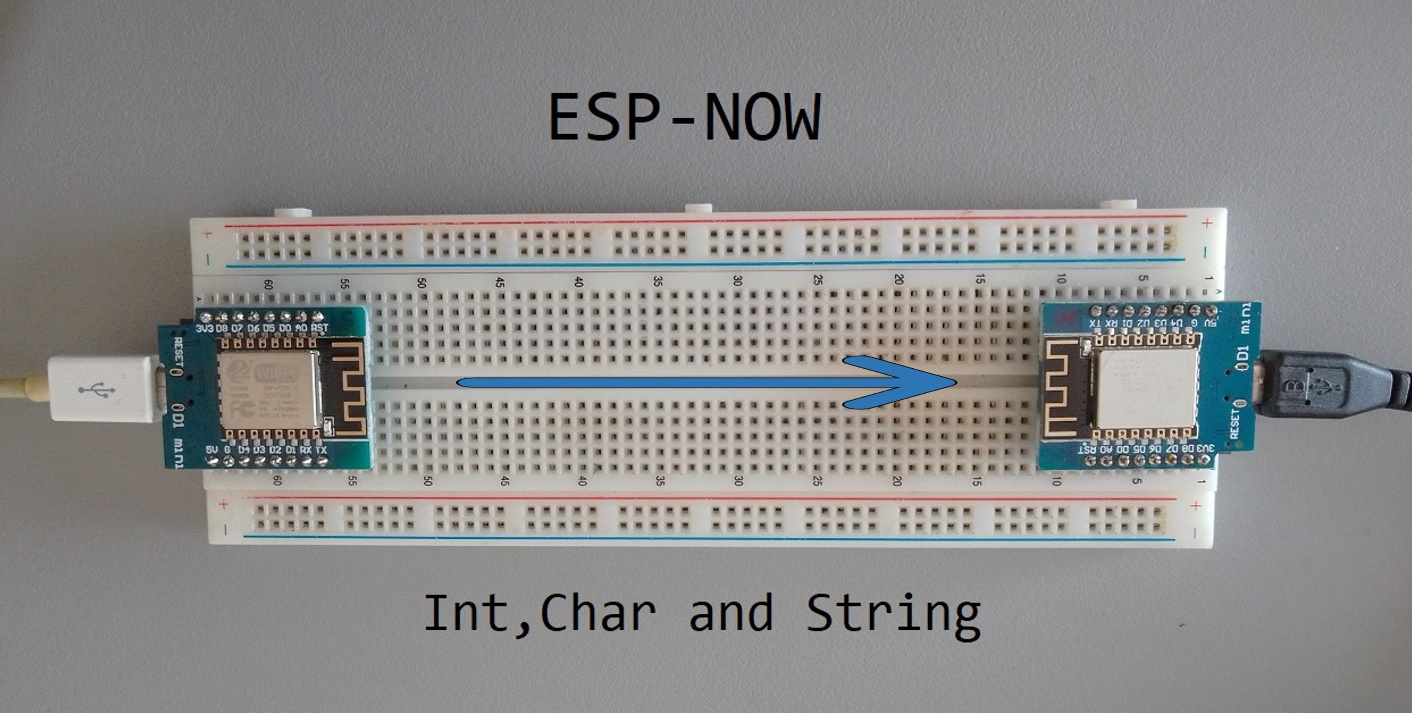
Two ESP8266 and ESP-NOW: Transmitting Int, Char and String
ESP-NOW is a communication protocol developed by Espressif, which allows multiple devices to communicate with each other without the need for Wi-Fi. In this blog post, we will demonstrate how to connect two ESP8266 modules using ESP-NOW and transmit different data types (int, char, and string) between them.
Prerequisites
Hardware
- 2 x ESP8266 Modules (e.g., NodeMCU or Wemos D1 Mini) (Affiliate) – https://s.click.aliexpress.com/e/_DD3JQhj
- Breadboard and jumper wires (Affiliate) – https://s.click.aliexpress.com/e/_Dl5kuk1
- USB cables to connect the ESP8266 modules to your computer
Software
- Arduino IDE with ESP8266 core installed
- ESP8266WiFi and ESP-NOW libraries
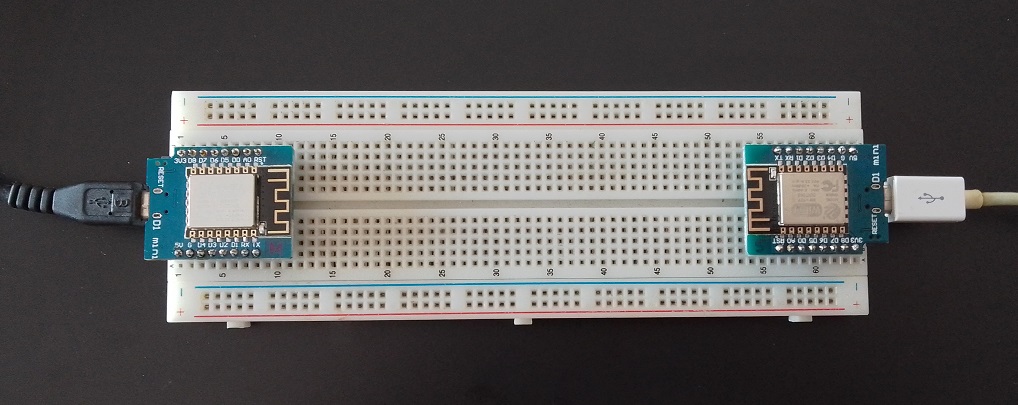
Wiring Diagram
For this tutorial, no additional wiring is needed.
Setup and Configuration
- Open the Arduino IDE and install the ESP8266 core and required libraries if you haven’t already.
- Configure the board settings for the ESP8266 modules. Go to
Tools > Boardand select the appropriate ESP8266 board. Also, set the upload speed, CPU frequency, and flash size according to your module.
Programming the ESP8266 Modules
Transmitter Code
#include <ESP8266WiFi.h>
#include <espnow.h>

// Replace with the receiver's MAC address
uint8_t receiverMAC[] = {0x40, 0xF5, 0x20, 0x06, 0x26, 0xDB};

// Struct to hold the data
struct Data {
  int intValue;
  char charValue;
  String stringValue;
} dataToSend;

// Callback when data is sent
void onDataSent(uint8_t *macAddr, uint8_t sendStatus) {
  Serial.print("Last packet send status: ");
  Serial.println(sendStatus == 0 ? "Delivery success" : "Delivery fail");
}

void setup() {
  Serial.begin(115200);
  WiFi.mode(WIFI_STA);
  WiFi.disconnect();
  delay(100);

  if (esp_now_init() != 0) {
    Serial.println("Error initializing ESP-NOW");
    return;
  }

  esp_now_set_self_role(ESP_NOW_ROLE_CONTROLLER);
  esp_now_add_peer(receiverMAC, ESP_NOW_ROLE_SLAVE, 1, NULL, 0);
  esp_now_register_send_cb(onDataSent);

  // Fill the struct with sample data
  dataToSend.intValue = 42;
  dataToSend.charValue = 'A';
  dataToSend.stringValue = "Hello, ESP-NOW!";
}

void loop() {
  esp_now_send(receiverMAC, (uint8_t *) &dataToSend, sizeof(dataToSend));
  delay(2000);
}
Receiver Code
#include <ESP8266WiFi.h>
#include <espnow.h>

// Struct to hold the data
struct Data {
  int intValue;
  char charValue;
  String stringValue;
} receivedData;

// Callback when data is received
void onDataReceived(uint8_t *senderMac, uint8_t *incomingData, uint8_t len) {
  memcpy(&receivedData, incomingData, sizeof(receivedData));
  Serial.print("Received int: ");
  Serial.println(receivedData.intValue);
  Serial.print("Received char: ");
  Serial.println(receivedData.charValue);
  Serial.print("Received string: ");
  Serial.println(receivedData.stringValue);
}

void setup() {
  Serial.begin(115200);
  WiFi.mode(WIFI_STA);
  WiFi.disconnect();
  delay(100);

  if (esp_now_init() != 0) {
    Serial.println("Error initializing ESP-NOW");
    return;
  }

  esp_now_set_self_role(ESP_NOW_ROLE_SLAVE);
  esp_now_register_recv_cb(onDataReceived);
}

void loop() {
  delay(1000);
}
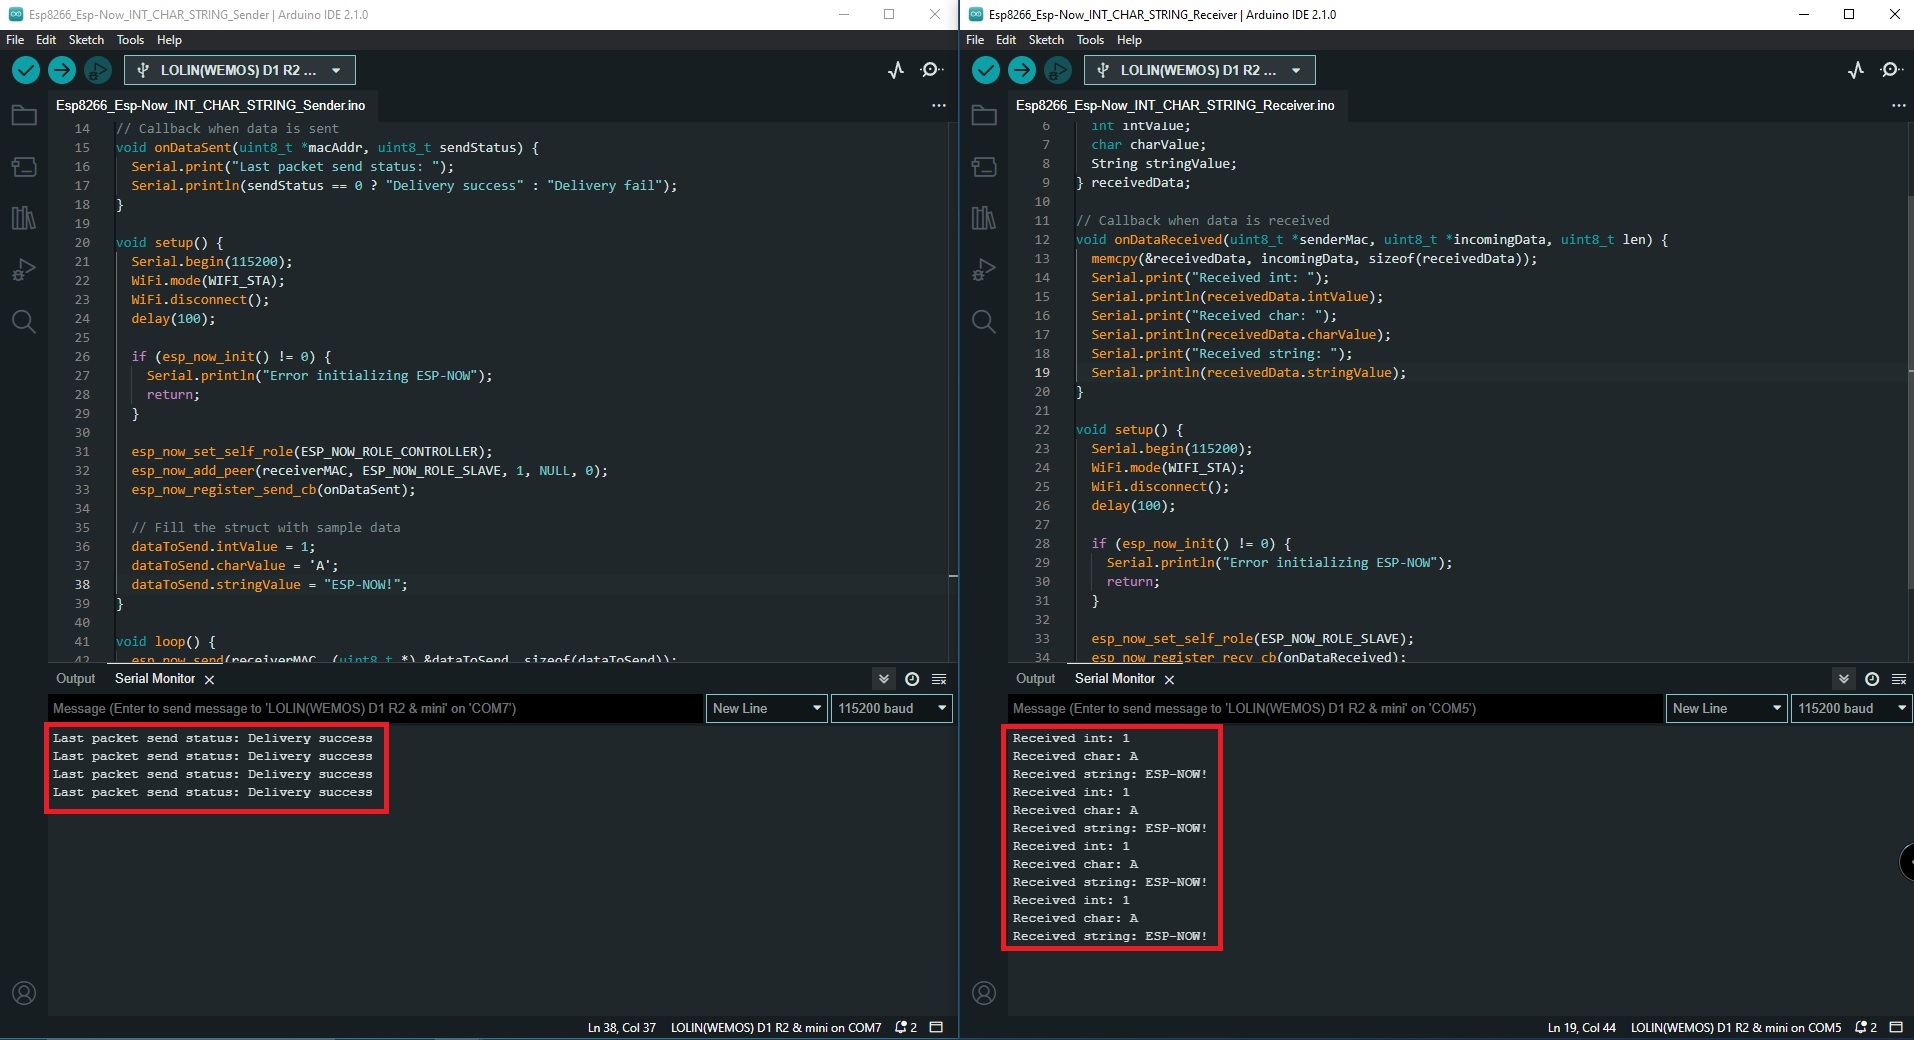
Testing the Connection
- Upload the transmitter code to the first ESP8266 module and the receiver code to the second ESP8266 module.
- Open the Serial Monitor for both modules and set the baud rate to 115200.
- Observe the output of both modules. The transmitter should display the send status, while the receiver should display the received int, char, and string values.
Conclusion
In this blog post, we have demonstrated how to connect two ESP8266 modules using ESP-NOW and transmit different data types (int, char, and string) between them. This can be a foundation for various IoT projects where you need to send data between devices without using Wi-Fi.
Feel free to experiment with different data types and structures, and expand upon this example to fit your specific use case.