Reading Temperature and Humidity with Arduino Nano 33 BLE Sense
In this tutorial, we will explore how to use the Arduino Nano 33 BLE Sense board to measure and display the temperature and humidity of your surroundings. This is made possible by the embedded HTS221 sensor, an ultra-compact sensor for relative humidity and temperature.
Hardware Needed
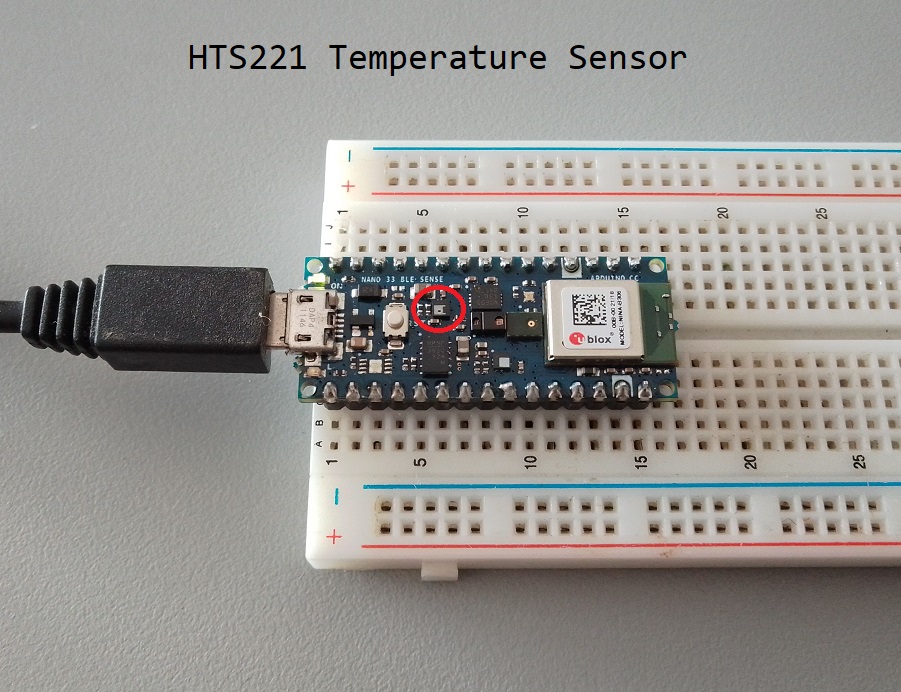
- Arduino Nano 33 BLE Sense board
Software Needed
- Arduino IDE
Goodies
- Pinout

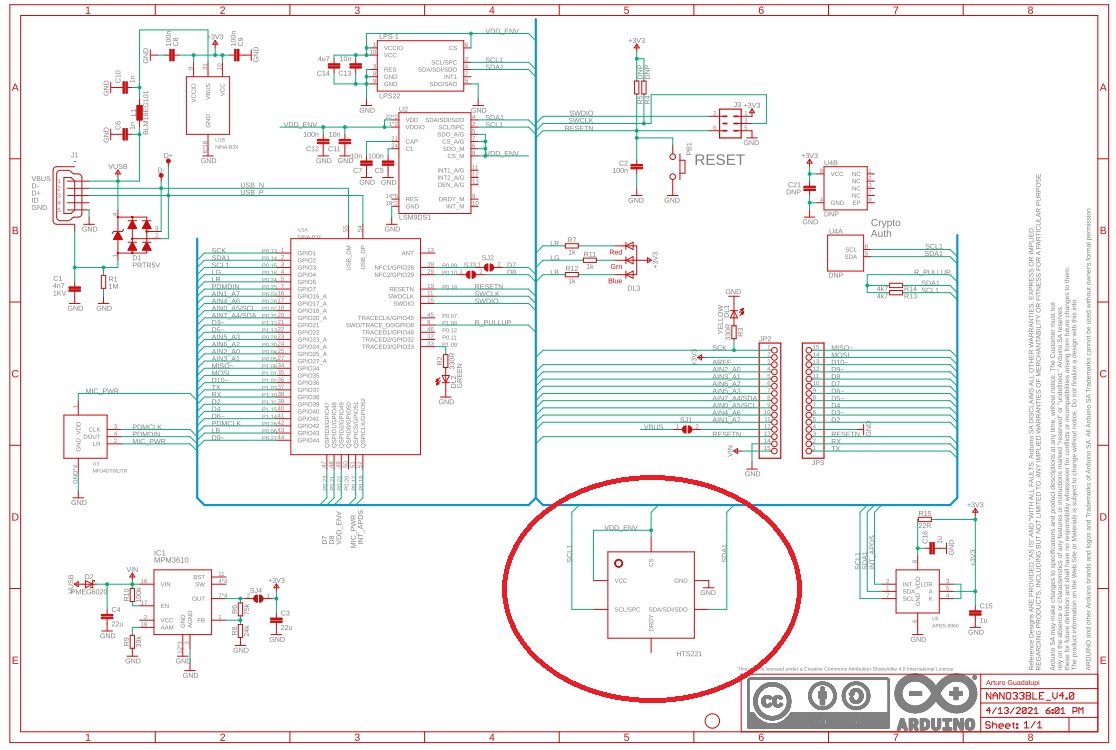
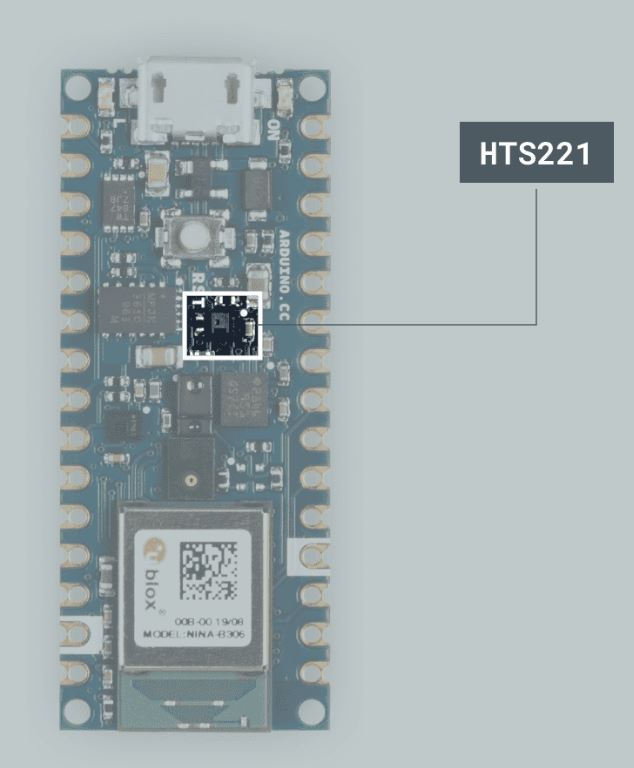
Introduction to HTS221 Sensor
The HTS221 is an ultra-compact sensor for relative humidity and temperature. It uses the I2C protocol to communicate and provide data. The sensor’s range of different values are:
- Humidity range: 0 to 100 %
- Humidity accuracy: ± 3.5% rH, 20 to +80% rH
- Temperature range: -40 to 120°C
- Temperature accuracy: ± 0.5 °C, 15 to +40 °C
These sensors are essential for environmental monitoring, especially around sensitive electronic equipment. They are found in various everyday objects and have numerous applications.
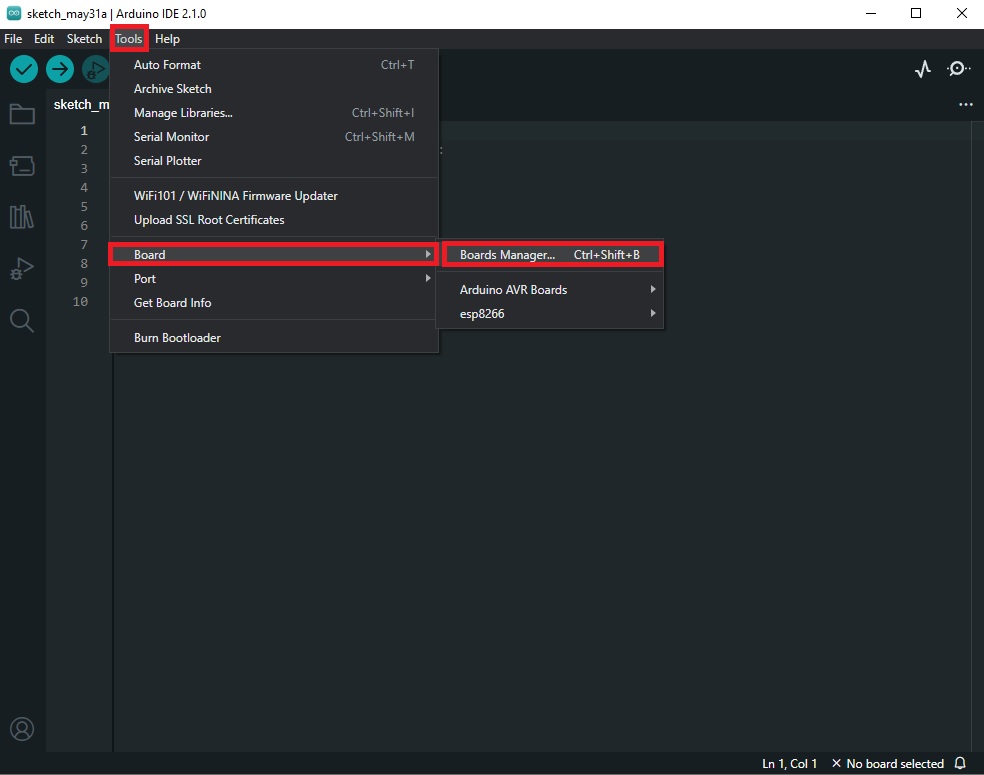
Setting Up the Arduino IDE
-
Start by opening the Arduino IDE. If you haven’t installed it yet, you can download it from the official Arduino website.
-
Connect your Arduino Nano 33 BLE Sense to your computer using a USB cable. The Arduino IDE should recognize the board and display its details in the bottom right corner.
Programming the Arduino
We will modify the code of the HTS221 library’s example to print the temperature and humidity values only when the temperature changes by at least 0.5°C or the humidity changes by at least 1%.
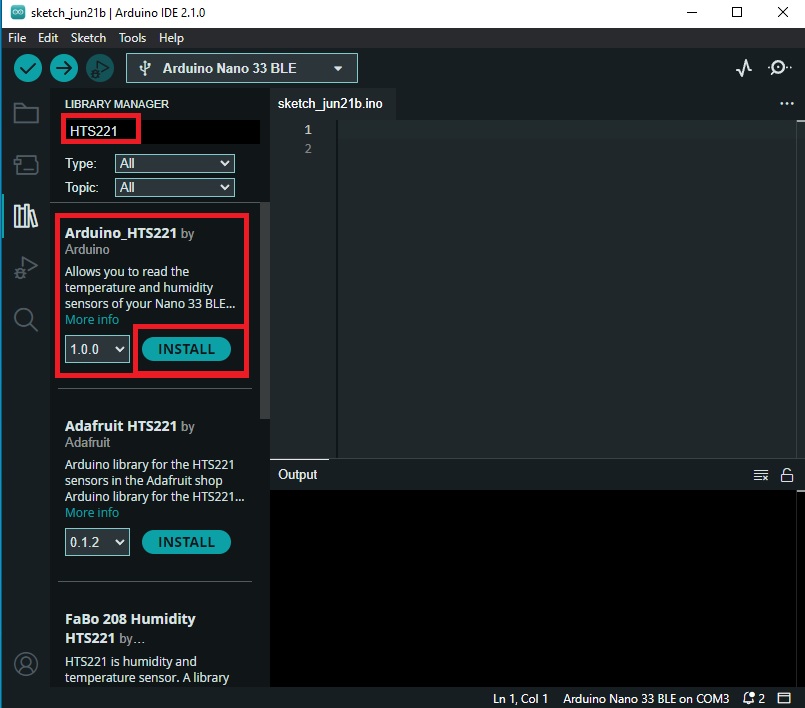
- Install the HTS221 library
-
In the Arduino IDE, go to File > Examples > Arduino_HTS221 > ReadSensors to open the example sketch.

-
Initialize the following variables before the setup() function:
float oldTemperature = 0;
float oldHumidity = 0;
- In the loop() function, add the following code:
float temperature = HTS.readTemperature();
float humidity = HTS.readHumidity();

if (abs(temperature - oldTemperature) >= 0.5 || abs(humidity - oldHumidity) >= 1) {
  Serial.print("Temperature = ");
  Serial.print(temperature);
  Serial.println(" °C");

  Serial.print("Humidity    = ");
  Serial.print(humidity);
  Serial.println(" %");

  oldTemperature = temperature;
  oldHumidity = humidity;
}
- This code will print out the temperature and humidity values when the temperature increases or decreases more than 0.5°C, or when the humidity values change up or down more than 1%.
- Upload the code to your Arduino board by clicking on the Upload button in the Arduino IDE.
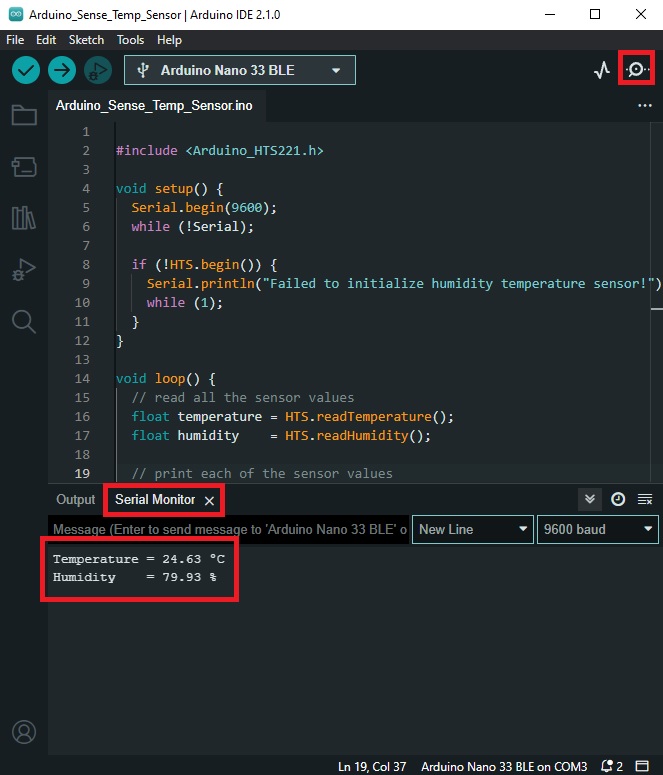
#include <Arduino_HTS221.h>

void setup() {
  Serial.begin(9600);
  while (!Serial);

  if (!HTS.begin()) {
    Serial.println("Failed to initialize humidity temperature sensor!");
    while (1);
  }
}

void loop() {
  // read all the sensor values
  float temperature = HTS.readTemperature();
  float humidity    = HTS.readHumidity();

  // print each of the sensor values
  Serial.print("Temperature = ");
  Serial.print(temperature);
  Serial.println(" °C");

  Serial.print("Humidity    = ");
  Serial.print(humidity);
  Serial.println(" %");

  // print an empty line
  Serial.println();

  // wait 1 second to print again
  delay(2000);
}
Testing the Sensor
After uploading the sketch to the board, open the Serial Monitor from the Tools > Serial Monitor. You will now see the new values printed. If you want to test out whether it is working, you could slightly breathe (exhale) on your board and watch new values when the humidity, as well as the temperature, levels rise or decrease.
Conclusion
In this tutorial, we learned how to use the HTS221 sensor on the Arduino Nano 33 BLE Sense board to measure and display temperature and humidity. This is a simple yet powerful way to monitor environmental conditions around you. Happy coding!