Lighting Up the Onboard LED of the Arduino Nano 33 BLE Sense
Welcome to this tutorial! Today, we’re going to learn how to light up the onboard LED of the Arduino Nano 33 BLE Sense. This is a great first step for anyone new to Arduino or those who just got their hands on a Nano 33 BLE Sense board. Let’s get started!
Step 1: Gather Your Tools
Before we start, make sure you have the following:
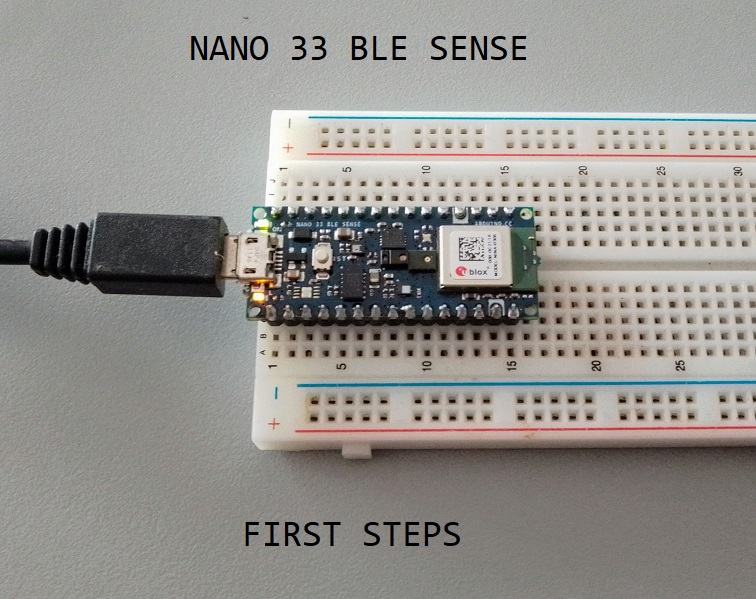
- Arduino Nano 33 BLE Sense board
- Micro USB cable
- Computer with Arduino IDE installed
Goodies

Step 2: Install and Configure Arduino IDE
If you haven’t already, download and install the Arduino IDE. This is the software we’ll use to write and upload code to the Arduino board. You can download it from the official Arduino website.
Once installed, you’ll need to configure the IDE for the Arduino Nano 33 BLE Sense:
- Open the Arduino IDE.
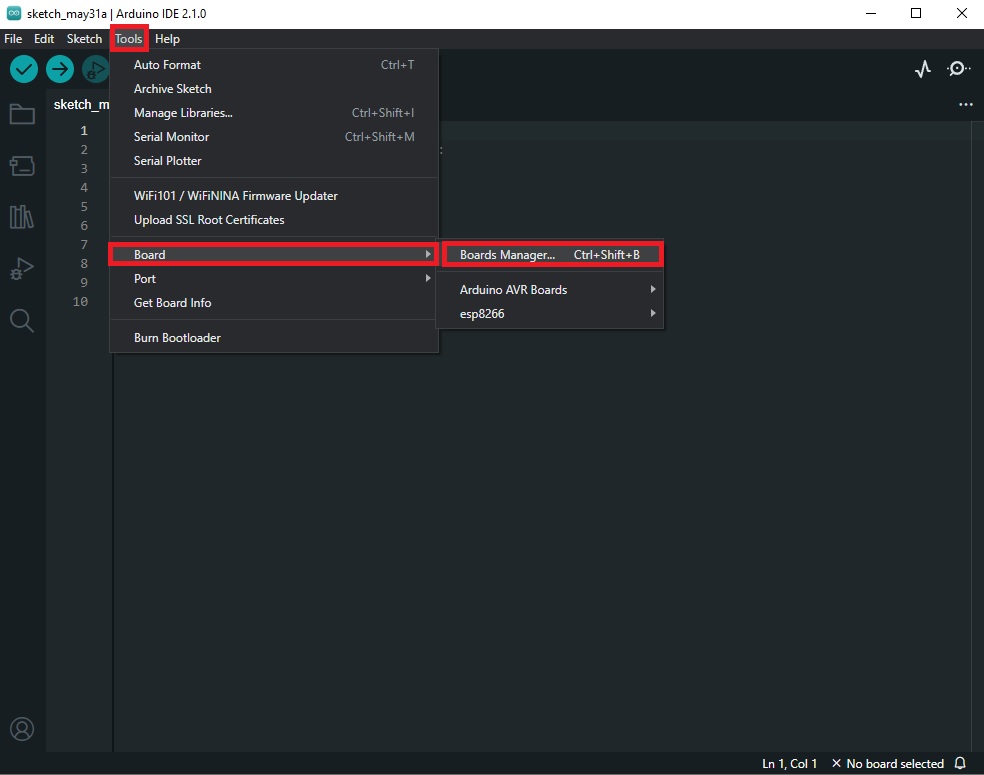
- Go to Tools > Board > Boards Manager.
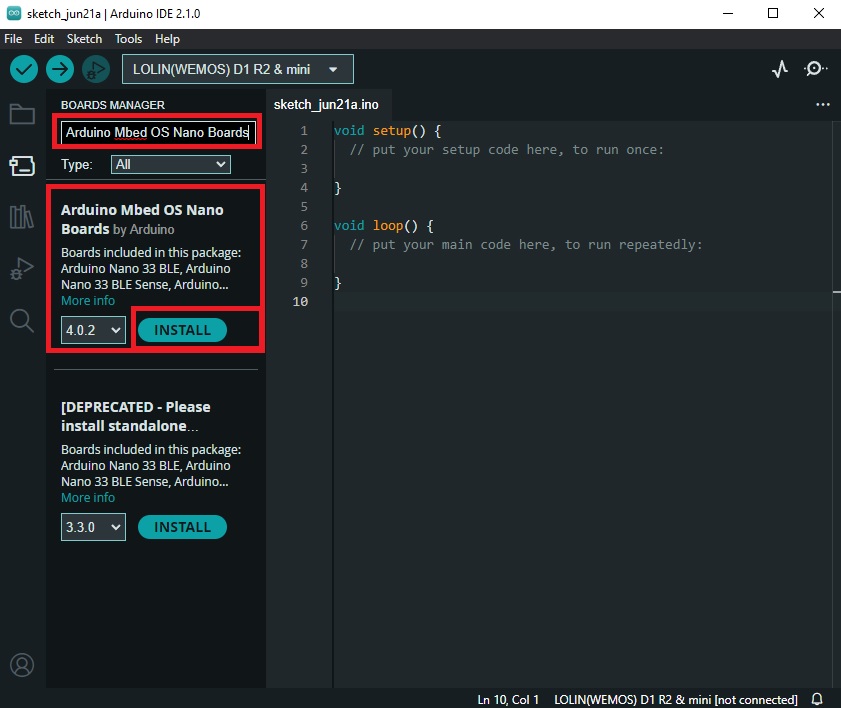
- In the Boards Manager window, type “Arduino Mbed OS Nano Boards” in the search bar and install it.
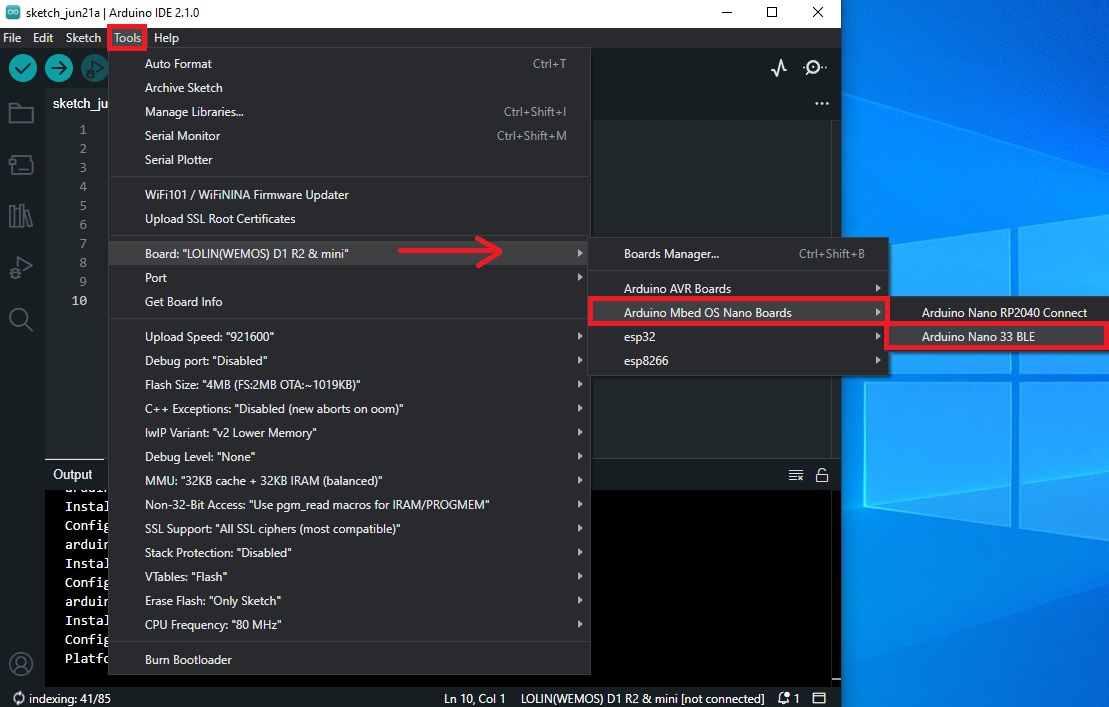
- After installation, go to Tools > Board and select “Arduino Nano 33 BLE”.
Step 3: Connect Your Arduino Nano 33 BLE Sense
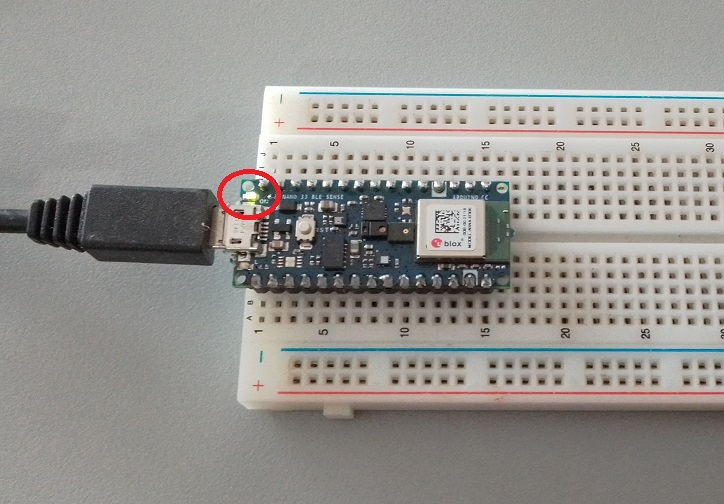
Connect your Arduino Nano 33 BLE Sense to your computer using the Micro USB cable. The green power LED on the Arduino should light up, indicating that the board is powered.
Step 4: Write the Code
Now, we’re going to write a simple program to light up the onboard LED. In the Arduino IDE, go to File > New to open a new sketch and enter the following code:
void setup() {
  pinMode(LED_BUILTIN, OUTPUT);
}

void loop() {
  digitalWrite(LED_BUILTIN, HIGH);
  delay(1000);
  digitalWrite(LED_BUILTIN, LOW);
  delay(1000);
}
This code will make the onboard LED blink. It turns the LED on, waits for a second, turns the LED off, waits for another second, and repeats.
Step 5: Upload the Code
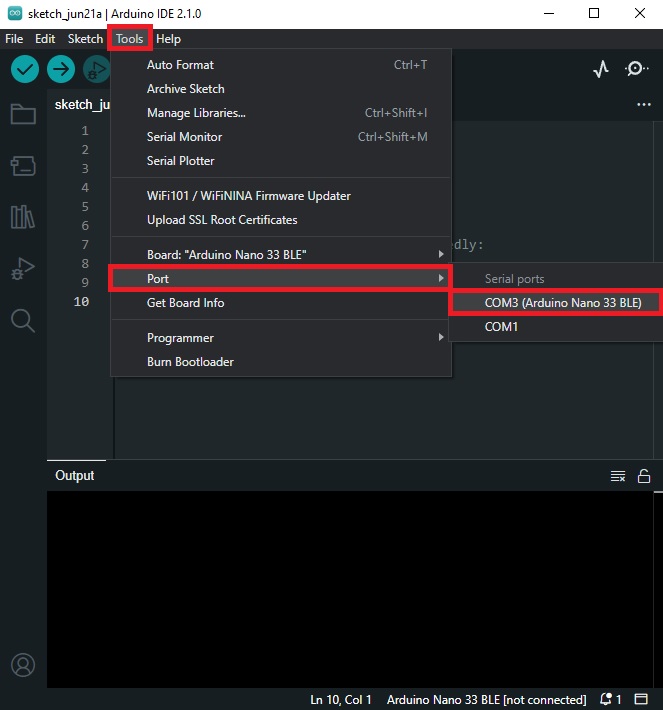
Before uploading, make sure the correct port is selected in the Arduino IDE:
- Go to Tools > Port.
- Select the port that your Arduino Nano 33 BLE Sense is connected to.
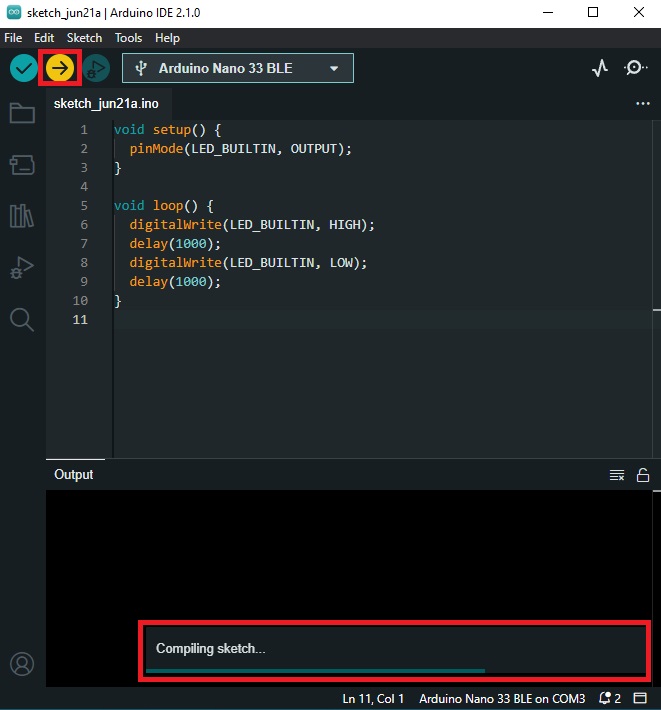
Now, click the “Upload” button (the right arrow in the top left corner of the Arduino IDE). The IDE will compile the code and upload it to the Arduino board.

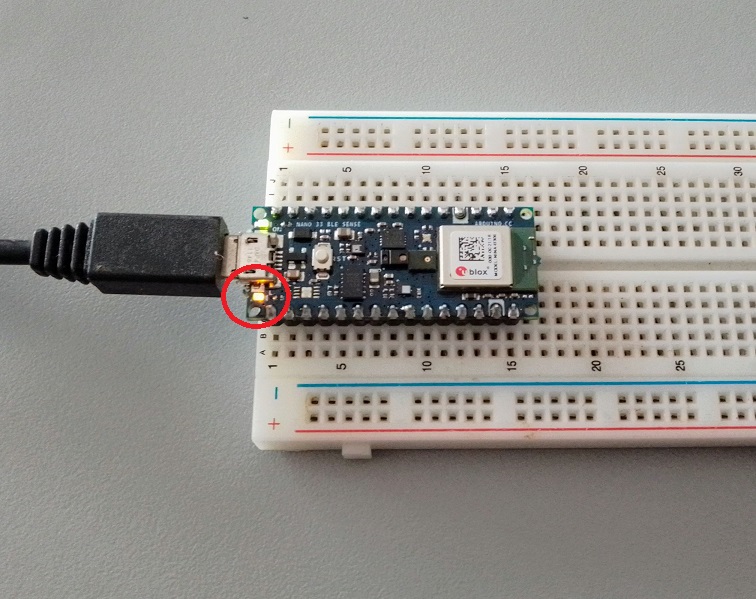
Step 6: Watch the LED Blink
Once the code is uploaded, the onboard LED on your Arduino Nano 33 BLE Sense should start blinking. Congratulations, you’ve just programmed your Arduino Nano 33 BLE Sense to light up its onboard LED!
Wrapping Up
This is a simple yet fundamental exercise that introduces you to Arduino programming. From here, you can start exploring more complex projects, such as reading sensor data, controlling actuators, or even connecting your Arduino to the internet. Happy tinkering!