ESP32: A Guide to Connecting and Controlling the Onboard LED
Introduction:
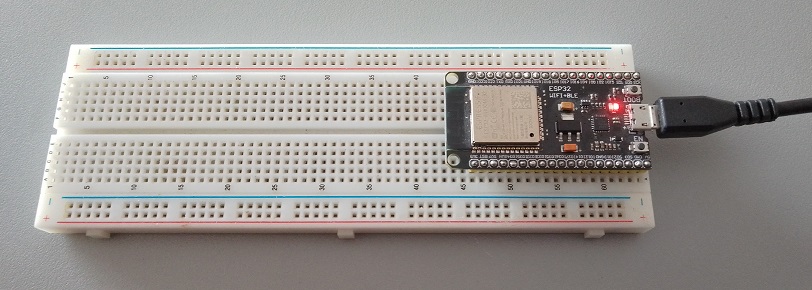
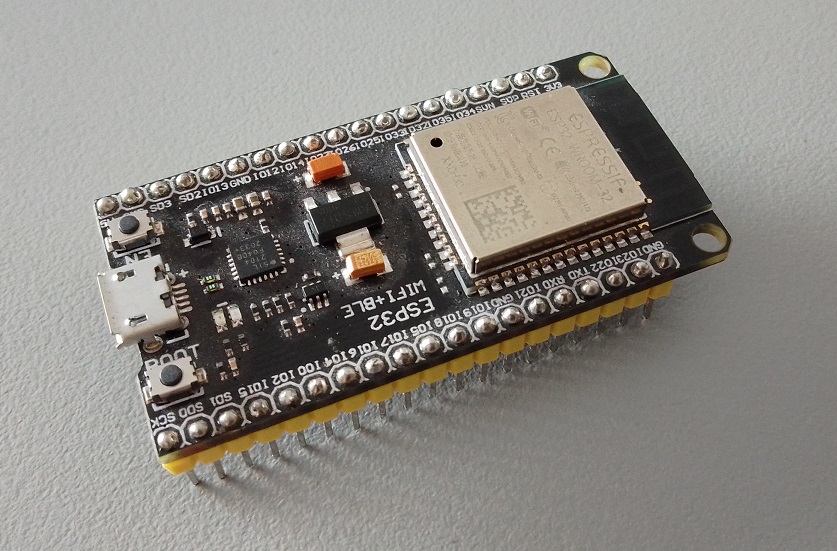
- An ESP32 development board (our shining protagonist)
- A micro-USB cable (the trusty sidekick)
- A computer with a USB port (the command center)
- Arduino IDE (the magical software that brings our story to life)
Install the Arduino IDE
Configure the Arduino IDE for ESP32
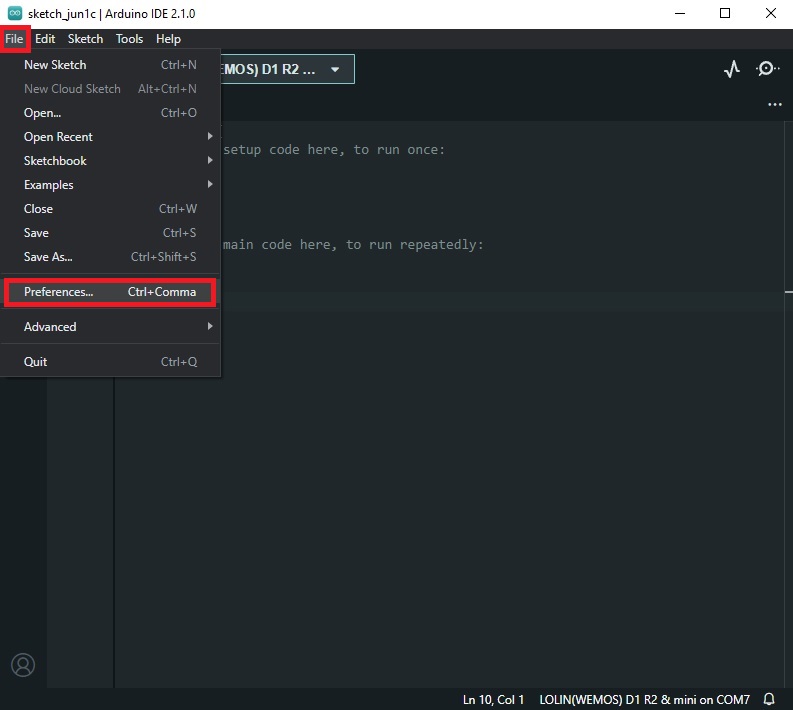
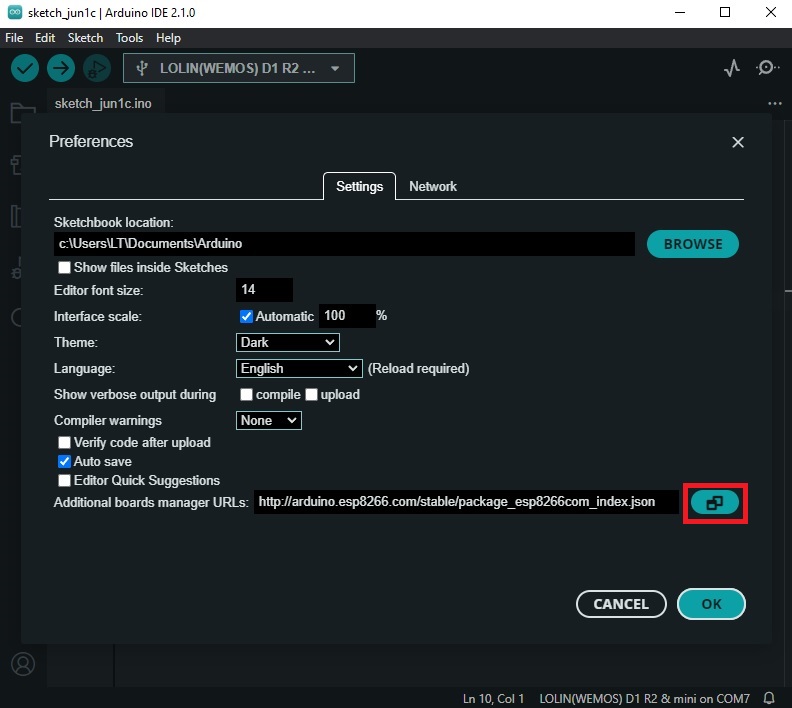
Open the Arduino IDE and navigate to File > Preferences.
In the “Additional Boards Manager URLs” field, add the following URL: https://dl.espressif.com/dl/package_esp32_index.json (If you have more than one, they can be separated by a comma)
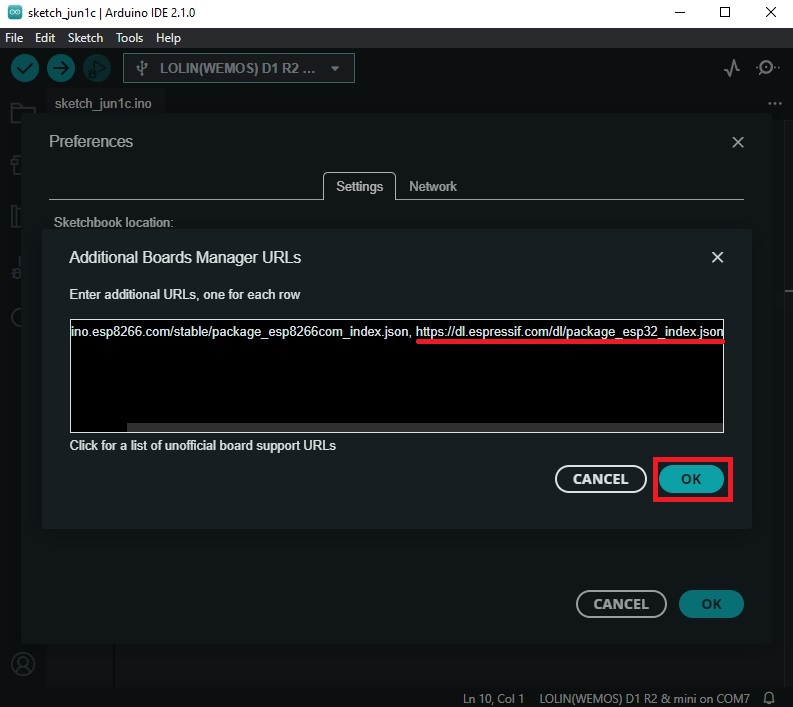
Click “OK” to save your changes and the AGAIN “OK”.
Next, go to Tools > Board > Boards Manager.
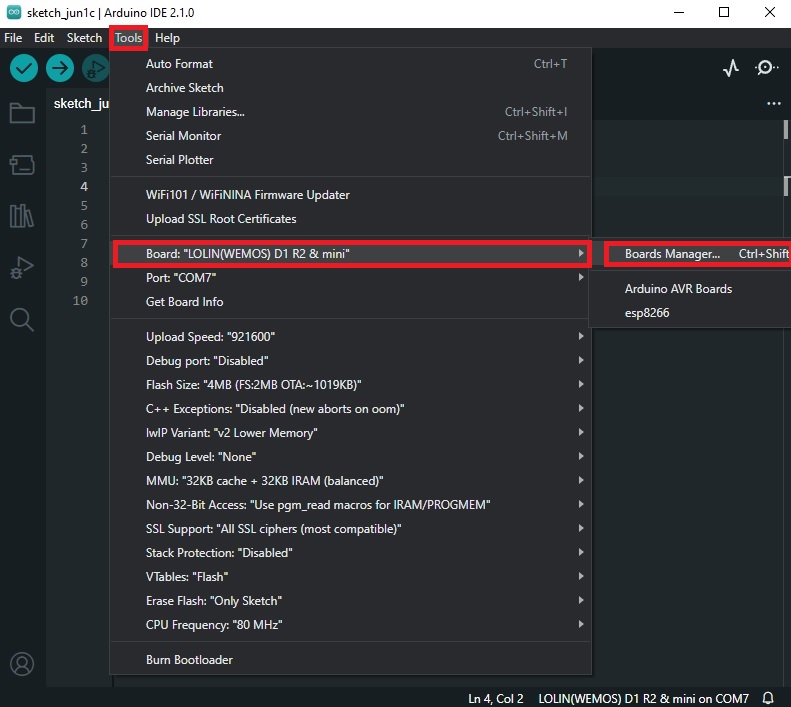
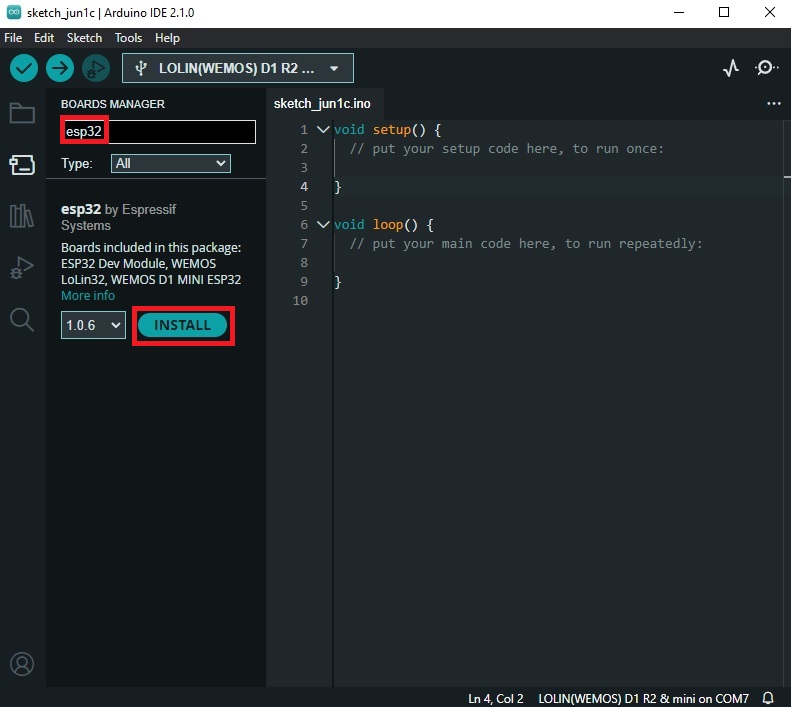
In the search bar, type “ESP32” and hit Enter.
Find the “esp32” entry by Espressif Systems and click “Install.”
Connect the ESP32 to Your Computer
Problems with the connection? If not, move a long.
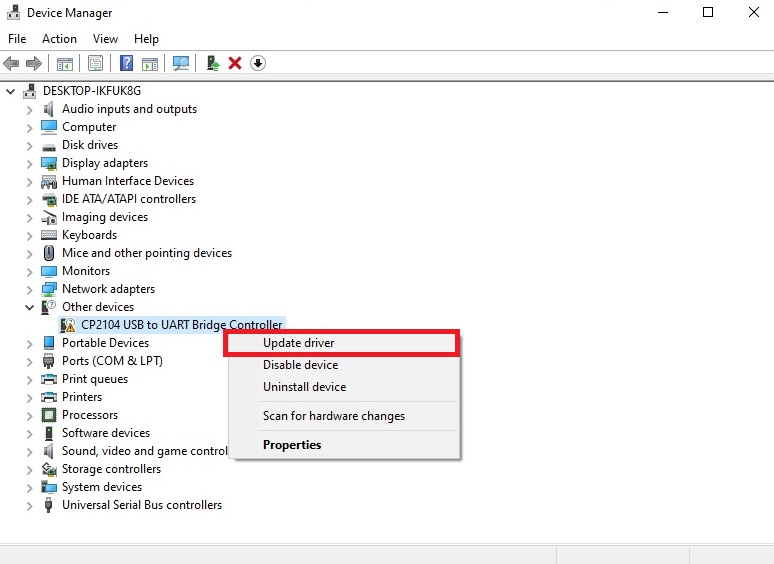
Maybe there isn´t a valid Driver for the board…go to the device manager and check it out. ([WIN key + r] and write devmgmt.msc)-This is one of the ways.
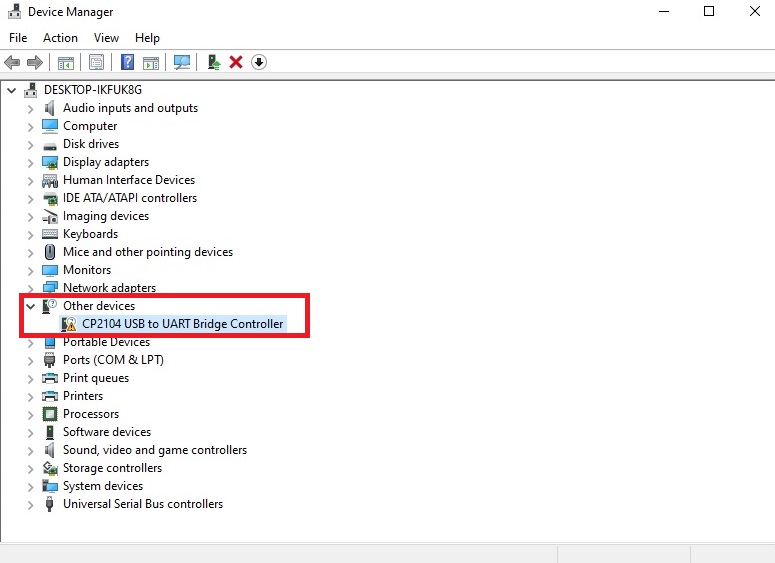
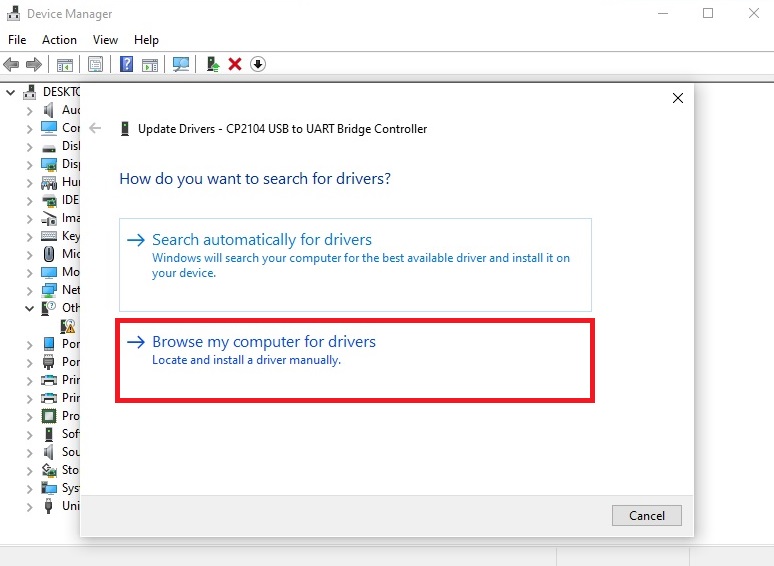
- You can download the CP2104 USB to UART Driver for Windows 10 + Windows 11 and unzip it to a folder. Then just update the driver by going to the place in your computer were the unzipped folder is.
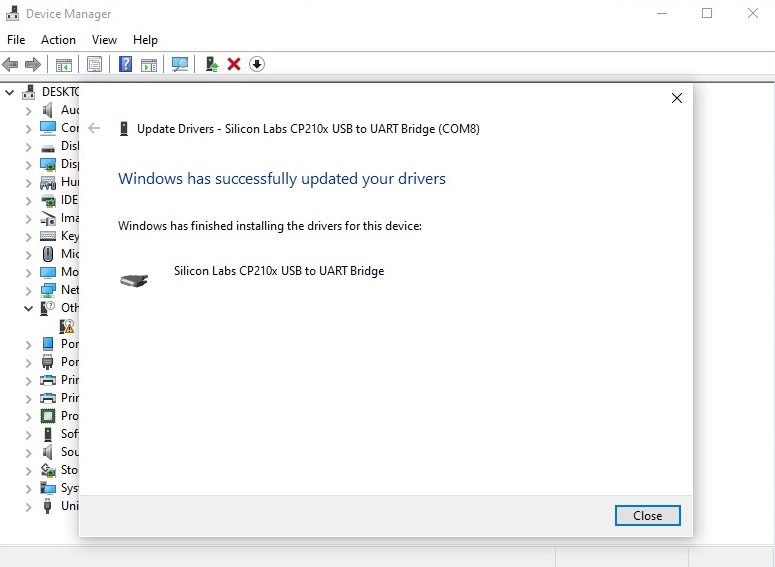
- All done!
Upload the LED-Blinking Sketch
- In the Arduino IDE, go to File > New to create a new sketch.
- Copy and paste the following code into the sketch:
const int ledPin = 2; // Onboard LED is connected to GPIO2

void setup() {
  pinMode(ledPin, OUTPUT); // Set the LED pin as an output
}

void loop() {
  digitalWrite(ledPin, HIGH); // Turn the LED on
  delay(1000); // Wait for 1 second (1000 milliseconds)
  digitalWrite(ledPin, LOW); // Turn the LED off
  delay(1000); // Wait for 1 second (1000 milliseconds)
}
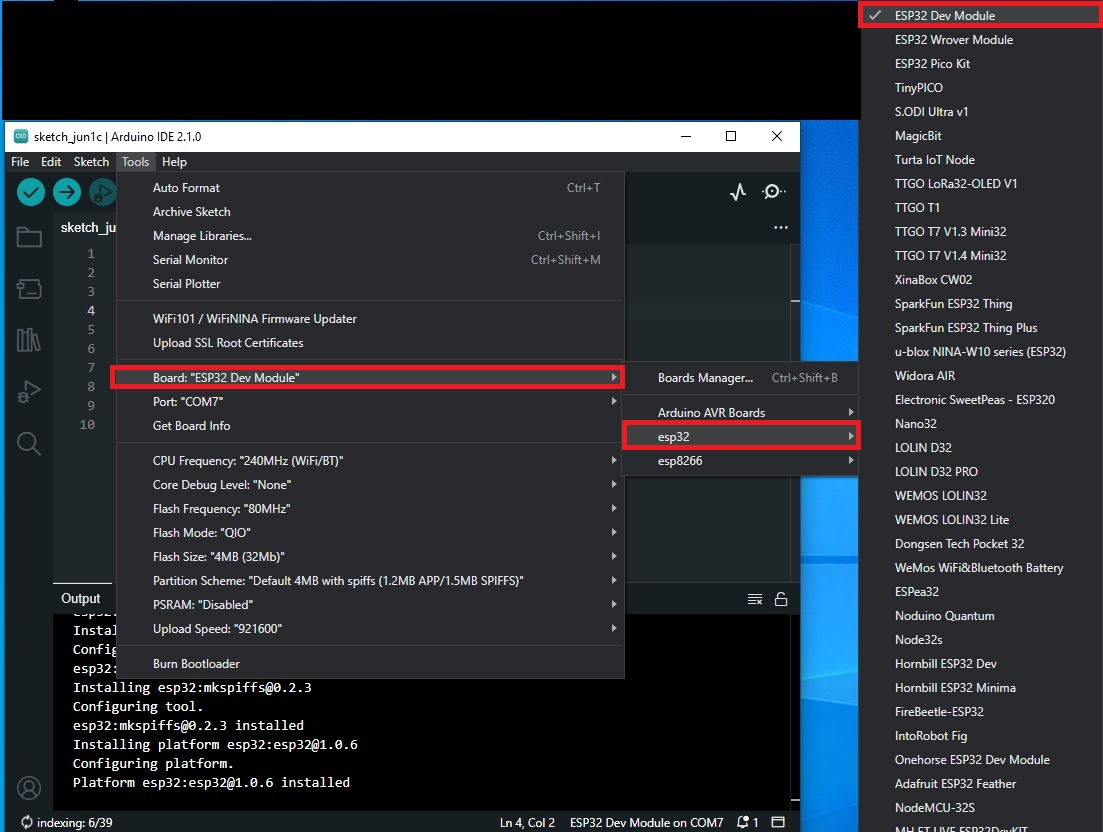
Go to Tools > Board and select “ESP32 Dev Module” from the list.
- Go to Tools > Port and select the appropriate port for your ESP32.
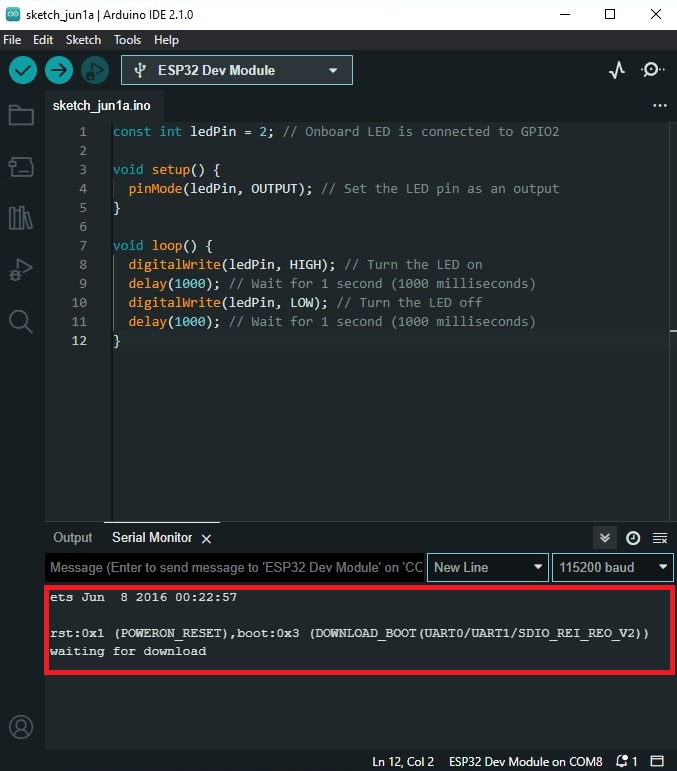
- In my case, before the upload i have a extra step that is to put the ESP32 in programming mode by Pressing first the BOOT and next the EN button. The serial monitor will give us the following message and we will be ready to download.
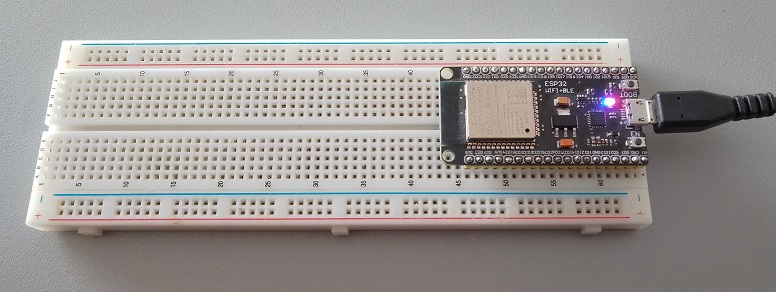
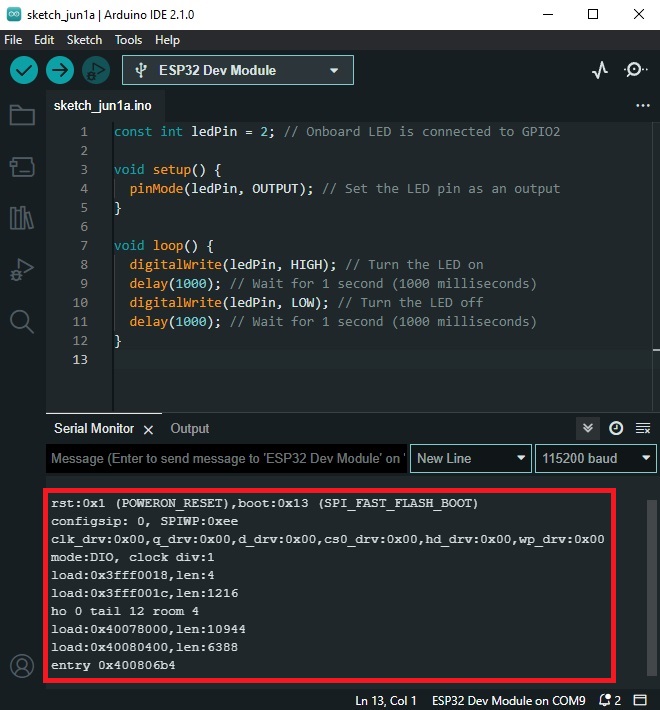
Click the “Upload” button (the right-facing arrow) to compile and upload the sketch to your ESP32. After the download, Press the EN button for jumpstart he board. The onboard LED should start blinking.
Bask in the Glory of Your Blinking LED