4×3 Membrane Keypad + Arduino Nano 33 BLE Sense
The Arduino Nano 33 BLE Sense is a compact and powerful IoT-capable microcontroller packed with many onboard sensors. Pairing it with a 4×3 membrane keypad allows you to create projects that can accept numeric input, from simple password entry systems to complex calculators. In this blog post, we will show you how to interface a 4×3 membrane keypad with the Arduino Nano 33 BLE Sense.
What You’ll Need
- Arduino Nano 33 BLE Sense
- 4×3 Membrane Keypad (Affiliate) – https://s.click.aliexpress.com/e/_Dk5oIjl
- Breadboard and Jump Wires
- Arduino IDE installed on your computer
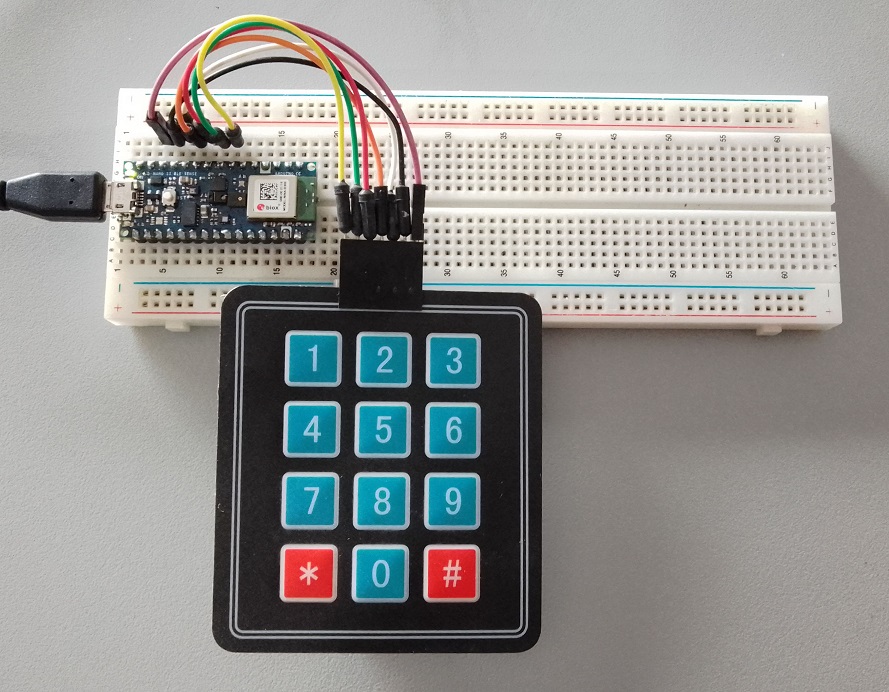
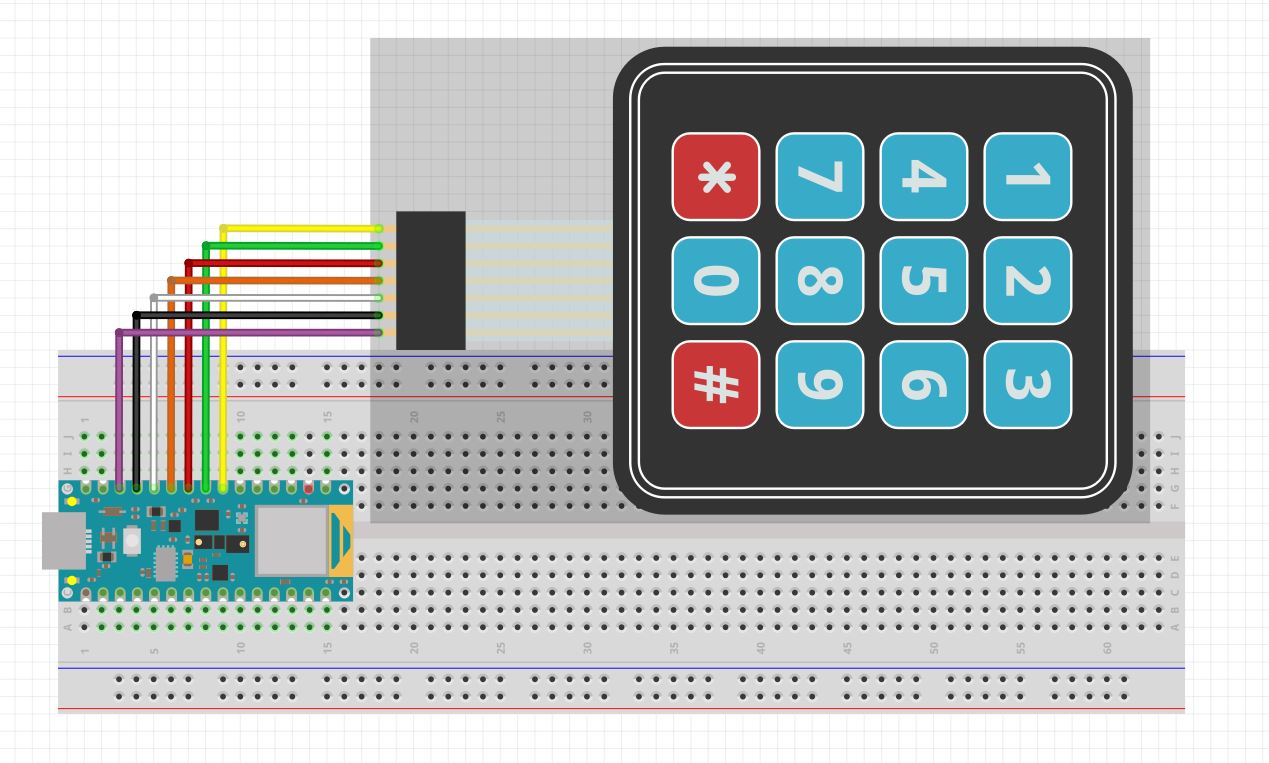
Step 1: Connect Your Hardware
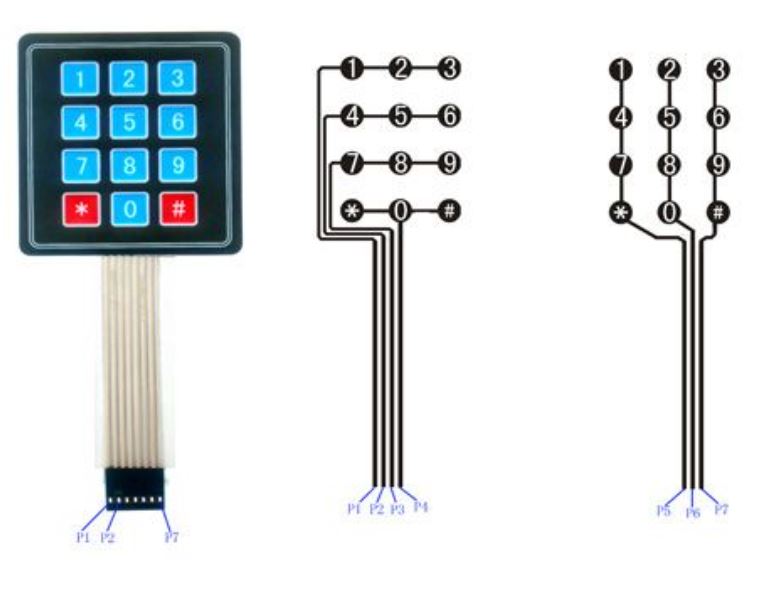
First, let’s connect the hardware. The 4×3 membrane keypad has seven pins:
- P1, P2, P3, P4 (Row Pins)
- P5, P6, P7 (Column Pins)
Connect these pins to your Arduino Nano 33 BLE Sense as follows:
- Connect P1 to digital pin 4
- Connect P2 to digital pin 5
- Connect P3 to digital pin 6
- Connect P4 to digital pin 7
- Connect P5 to digital pin 8
- Connect P6 to digital pin 9
- Connect P7 to digital pin 10
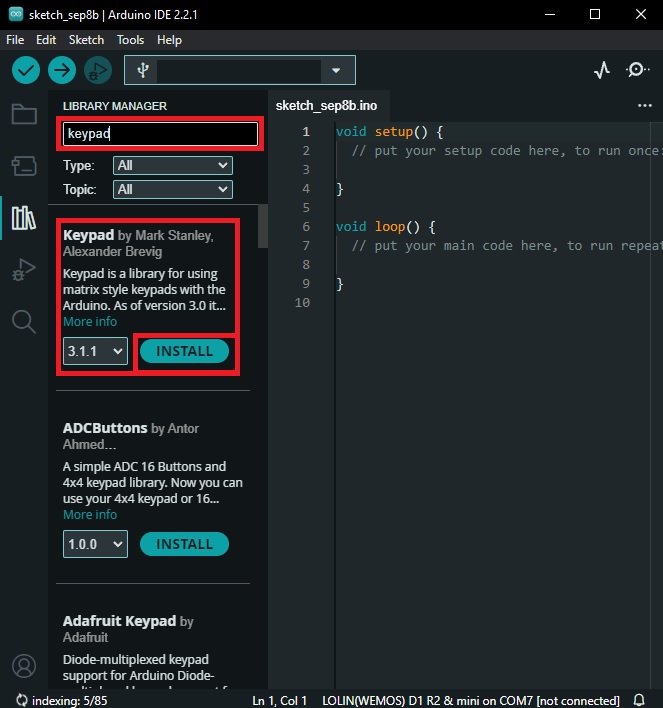
Step 2: Install the Keypad Library
Next, we need to install a library for interfacing with the keypad. The Keypad library by Mark Stanley and Alexander Brevig is a great choice. You can install it via the Arduino IDE:
- Go to Sketch > Include Library > Manage Libraries…
- In the Library Manager, type “Keypad” into the search box.
- Click on “Keypad” by Mark Stanley and Alexander Brevig and click “Install”.
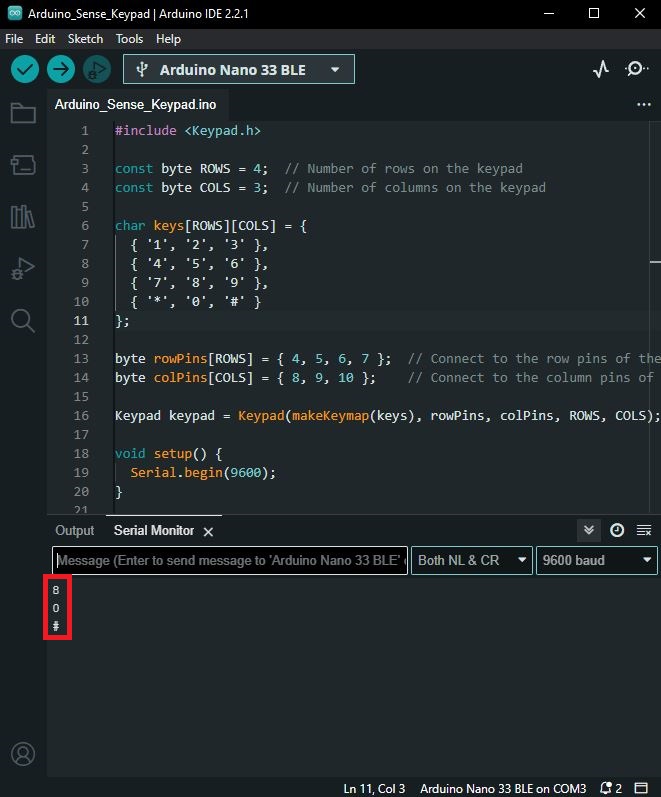
Step 3: Write the Code
With everything connected and the necessary library installed, we can start writing our code. Let’s create a simple program that displays the pressed key in the Serial Monitor.
#include <Keypad.h>

const byte ROWS = 4;  // Number of rows on the keypad
const byte COLS = 3;  // Number of columns on the keypad

char keys[ROWS][COLS] = {
  { '1', '2', '3' },
  { '4', '5', '6' },
  { '7', '8', '9' },
  { '*', '0', '#' }
};

byte rowPins[ROWS] = { 4, 5, 6, 7 };  // Connect to the row pins of the keypad
byte colPins[COLS] = { 8, 9, 10 };    // Connect to the column pins of the keypad

Keypad keypad = Keypad(makeKeymap(keys), rowPins, colPins, ROWS, COLS);

void setup() {
  Serial.begin(9600);
}

void loop() {
  char key = keypad.getKey();
  if (key) {
    Serial.println(key);
  }
}
Here’s what the code does:
- After including the
Keypad.hlibrary, we define the number of rows and columns on the keypad and create an array of characters representing the keys. - We define two arrays containing the Arduino pins to which we’ve connected the row and column pins of the keypad.
- We create a
Keypadobject, passing it the keymap, row pins, column pins, and the number of rows and columns. - In the
setup()function, we begin serial communication at 9600 baud for debug output. - In the
loop()function, we use thegetKey()function to check if a key has been pressed. If a key is pressed, it returns the key’s character, which we then print to the Serial Monitor.
Step 4: Upload and Run
Finally, connect your Arduino Nano 33 BLE Sense to your computer via USB, and upload the code using the Arduino IDE. Open the Serial Monitor (Tools > Serial Monitor), press some keys on the keypad, and you should see the pressed keys displayed in the Serial Monitor.
Conclusion
Interfacing a 4×3 membrane keypad with an Arduino Nano 33 BLE Sense opens up a wide range of possibilities for projects that involve user input. With the Keypad library, it’s relatively straightforward to capture and use this input in your Arduino sketches. Happy tinkering!